When we first started knitting our own projects, we discovered that people are blocking their knits, but were never really sure what it does or how to block knitting projects. We are writing this blogpost to share how we block our knitting projects and how you can do it yourself! We hope that this helps some of you and clears some of the confusion around blocking! <3
As you near the end of your knitting project, there’s one last crucial step that can take your creation from great to perfect: blocking. This often overlooked process is the key to ensuring that your hard work shines and your finished piece looks as stunning as you envisioned it. There are a few different blocking techniques, but we prefer to wet block our knitting projects. In this blogpost we will tell you all about wet blocking and why it’s a non-negotiable step in your knitting journey.
what you will need to learn how to block your knitting
Before you dive into the blocking process, gather these essentials:
- A clean, flat surface
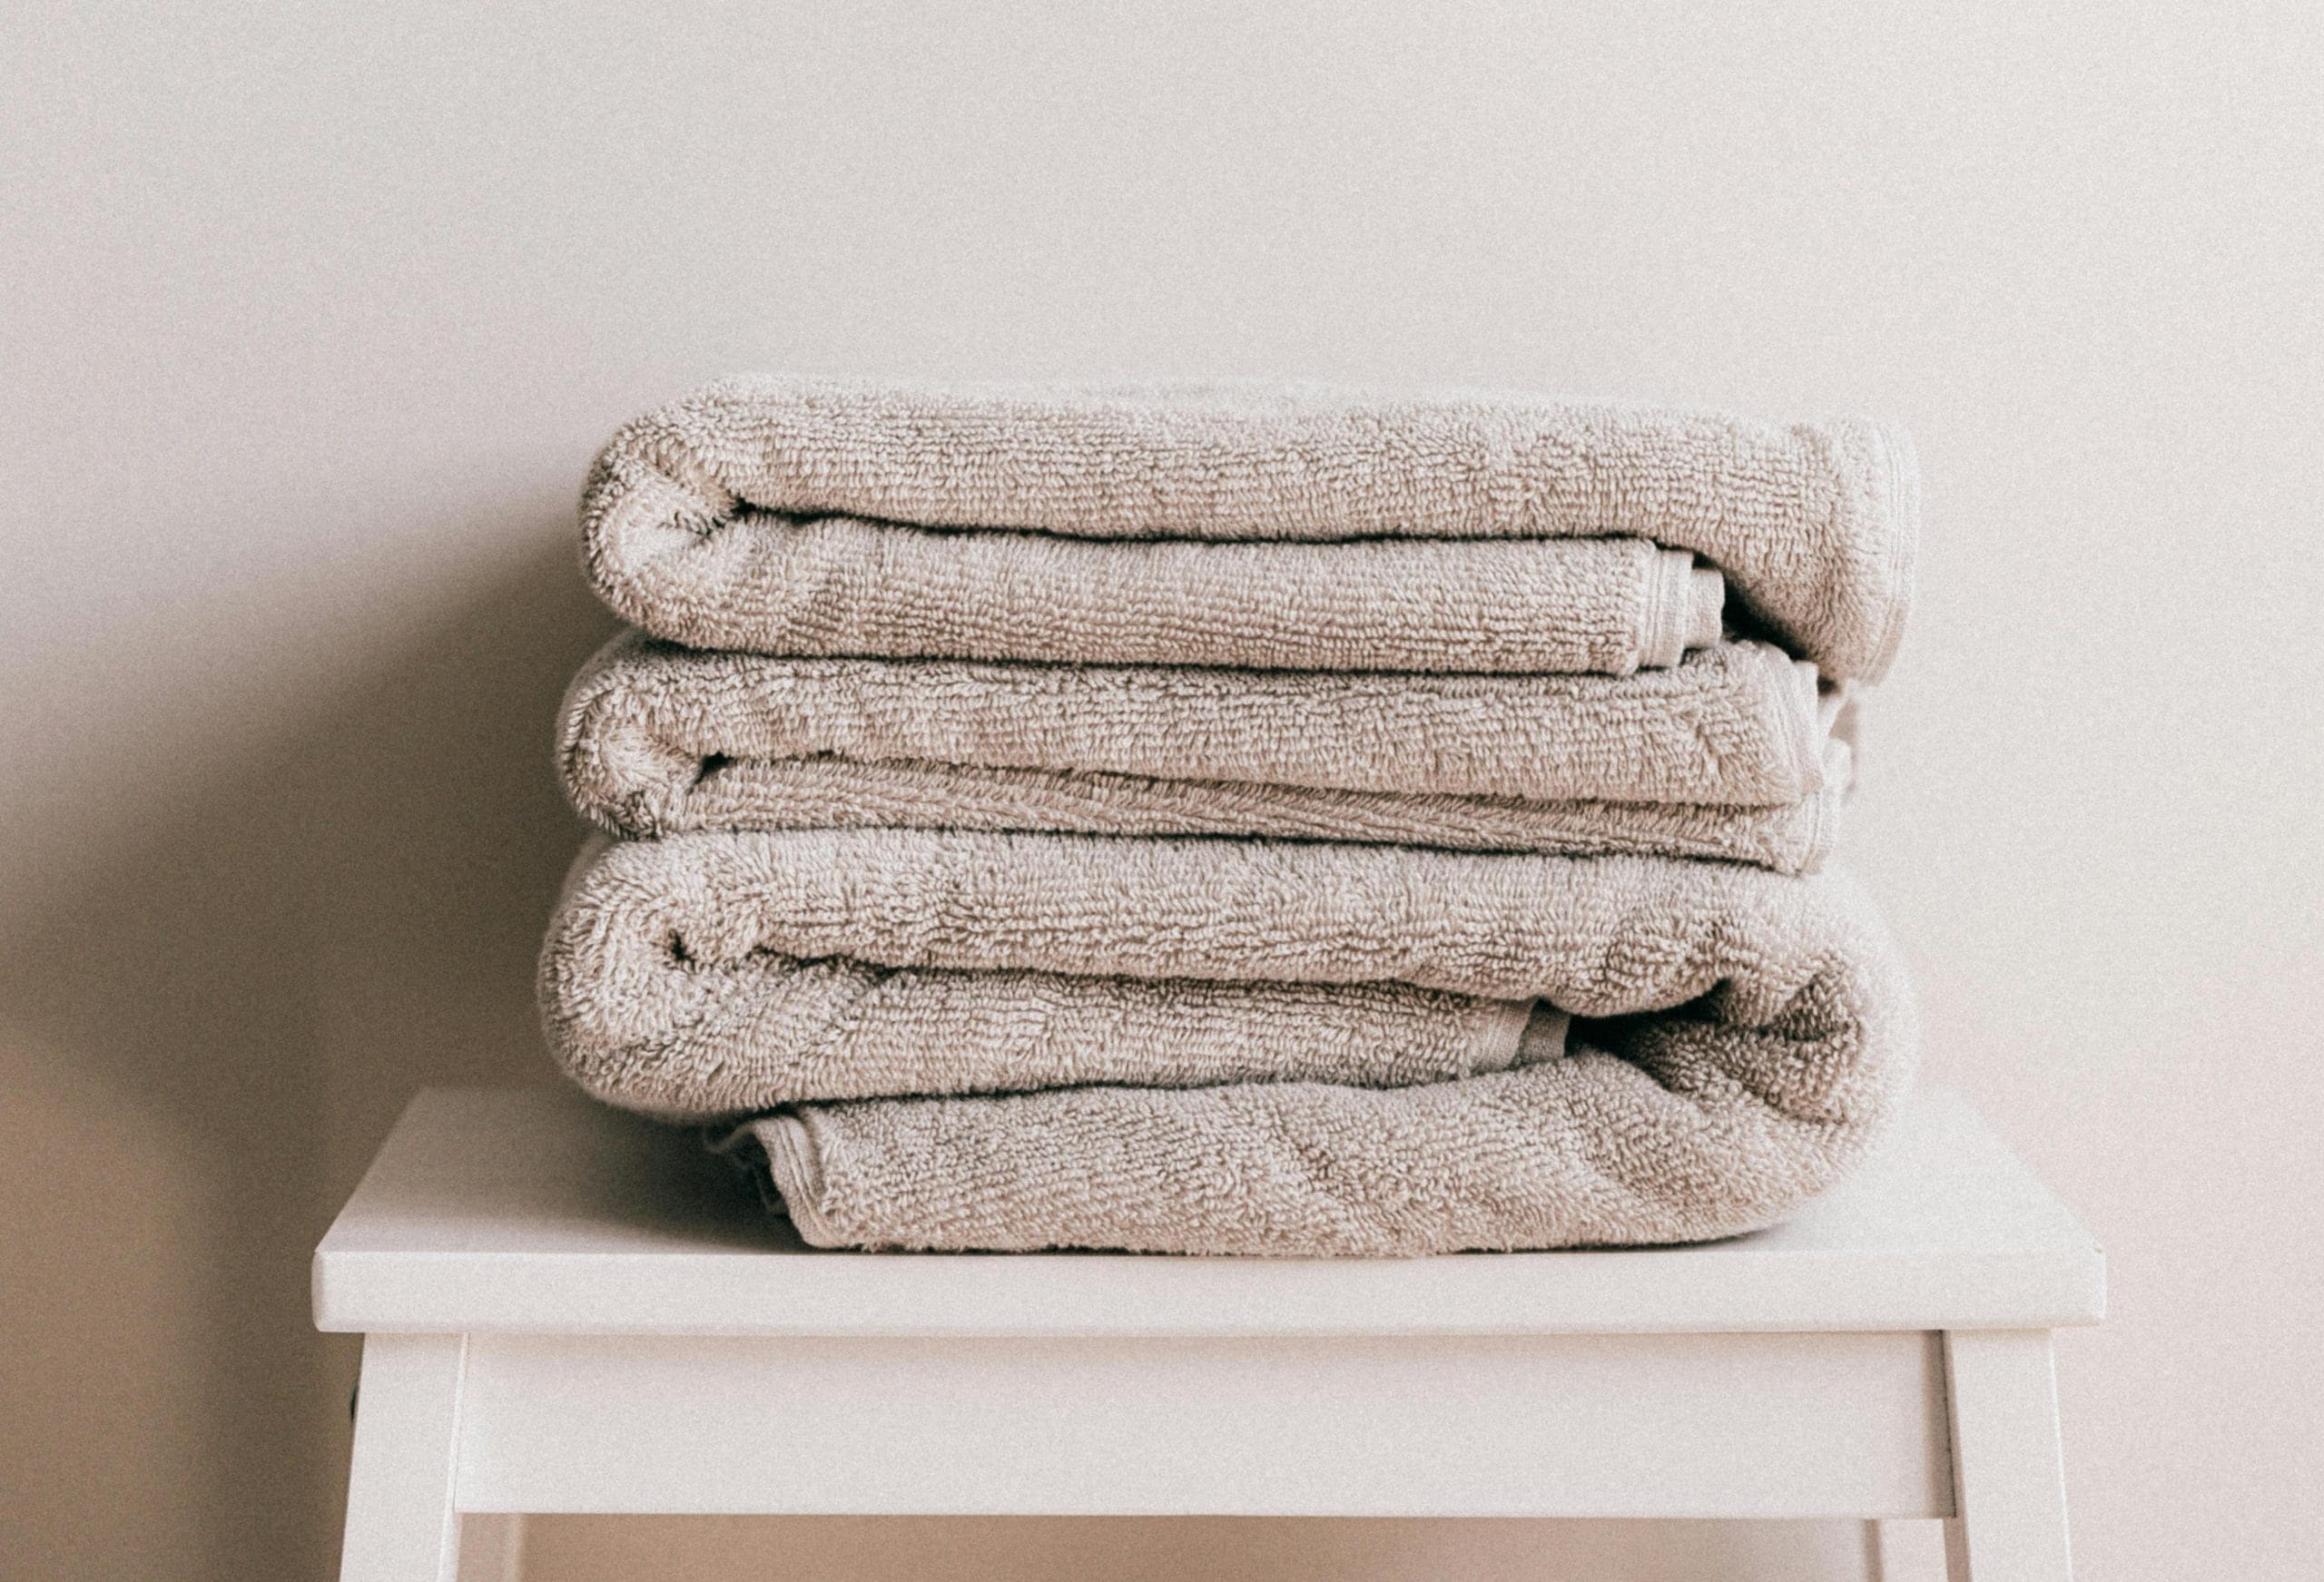
- A large towel or a blocking mat
- Rust-resistant pins
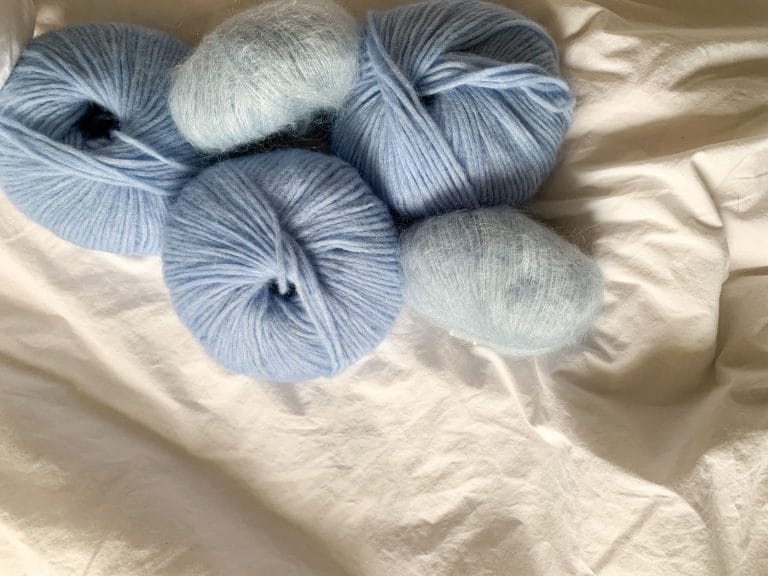
- a big sink or bowl, that can fit your knit
- a detergent that is suitable for your knitting projects fibre type
Block your knit preperatrion Step 1: Weave in lose yarn ends
Before you can learn how to block knitting projects, don’t forget the essential step of weaving in loose yarn ends. This seemingly small detail plays a significant role in securing your project and ensuring its longevity. However, we like to leave a longer tail during this process to accommodate the relaxation of fibers when washing our projects.
Weaving in ends involves using a yarn needle to thread the loose yarn tails back into the fabric, effectively securing them in place. This prevents any unruly ends from peeking out and maintains the seamless look of your finished piece. While it might seem tempting to trim those tails to be done and tidy up your work, leaving a longer tail is crucial. As the fibres relax and settle, the longer tail ensures that the yarn remains secure within the fabric, preventing it from unraveling or becoming lose.
How to block a sweater Step 2: Wet Your Knits
Blocking begins with gently wetting your knitted garment. Take your sink or big bowl, fill it with cold to lukewarm water and add in a bit of your detergent. After that, put in your knitted garment and make sure that it is covered with water.
The moisture makes the fibres relax and settle into place, allowing any uneven tension in your stitches to even out. Blocking will help any beginner knitter to have a more even and professional looking finished garment. As the fibres absorb the water, they soften, resulting in a more comfortable and wearable finished piece. Remember, different fibers require different levels of moisture, so be cautious and considerate when wetting your knits.
Leave your knitting project in the water for about 30 to 60 minutes. You will then drain the water and carefully rinse your project with lukewarm water to remove the leftover detergent. Be careful not to squeeze and twist your knits, because that can lead to felting. Put it on a clean towel, roll it in and gently press out the access water. You may need to repeat this step a few times with dry towels.
block your knitting project Step 3: Put your knit on a Towel and Pin
After taking your garment out of the water, carefully lay it flat on a towel or blocking mat. Take this opportunity to shape it the way you envision. Ensure the edges are straight and any lace patterns or cables are beautifully displayed. Pin the garment in place, securing it to the desired shape. This process allows the fabric to dry while retaining the shape you’ve pinned it.
Be cautious when blocking delicate fibers, as some are prone to felting when exposed to warm water and friction. Always refer to the instructions on the yarn label to determine the best approach for your specific project.
how to block your knitting Step 4: Let It Dry
Once your garment is pinned in shape, give it time: it needs to air-dry completely. This step is crucial, as it allows the fibers to set in their new shape. You might be tempted to rush this process, but patience is key here. Trust the blocking process, and allow your knits to take on their new form naturally.
Remember that blocking can be done more than once. While knits tend to hold their shape well, periodic blocking can help maintain the intended structure and keep your garments looking their best. You should not overdo it though – some fibres are even self-cleaning and only need to be hung out to air.
In essence, blocking is the final touch that brings your knitting project to life. By embracing this technique, you ensure that your finished knitting project not only looks exquisite but also stands the test of time, showcasing your knitting skills. So, the next time you complete a project, don’t forget to give it the blocking treatment it deserves.
Happy blocking! <3