If you’re just starting out with knitting, a lot of things might seem new and maybe even a bit complicated. Stitches, needles, yarns – and then suddenly this word pops up: gauge swatch. What is that, actually? Don’t worry: In this blog post, we’ll explain step by step what a gauge swatch is, why it’s important, how to make one, and what to do if it doesn’t turn out as expected.
What is a Gauge Swatch?
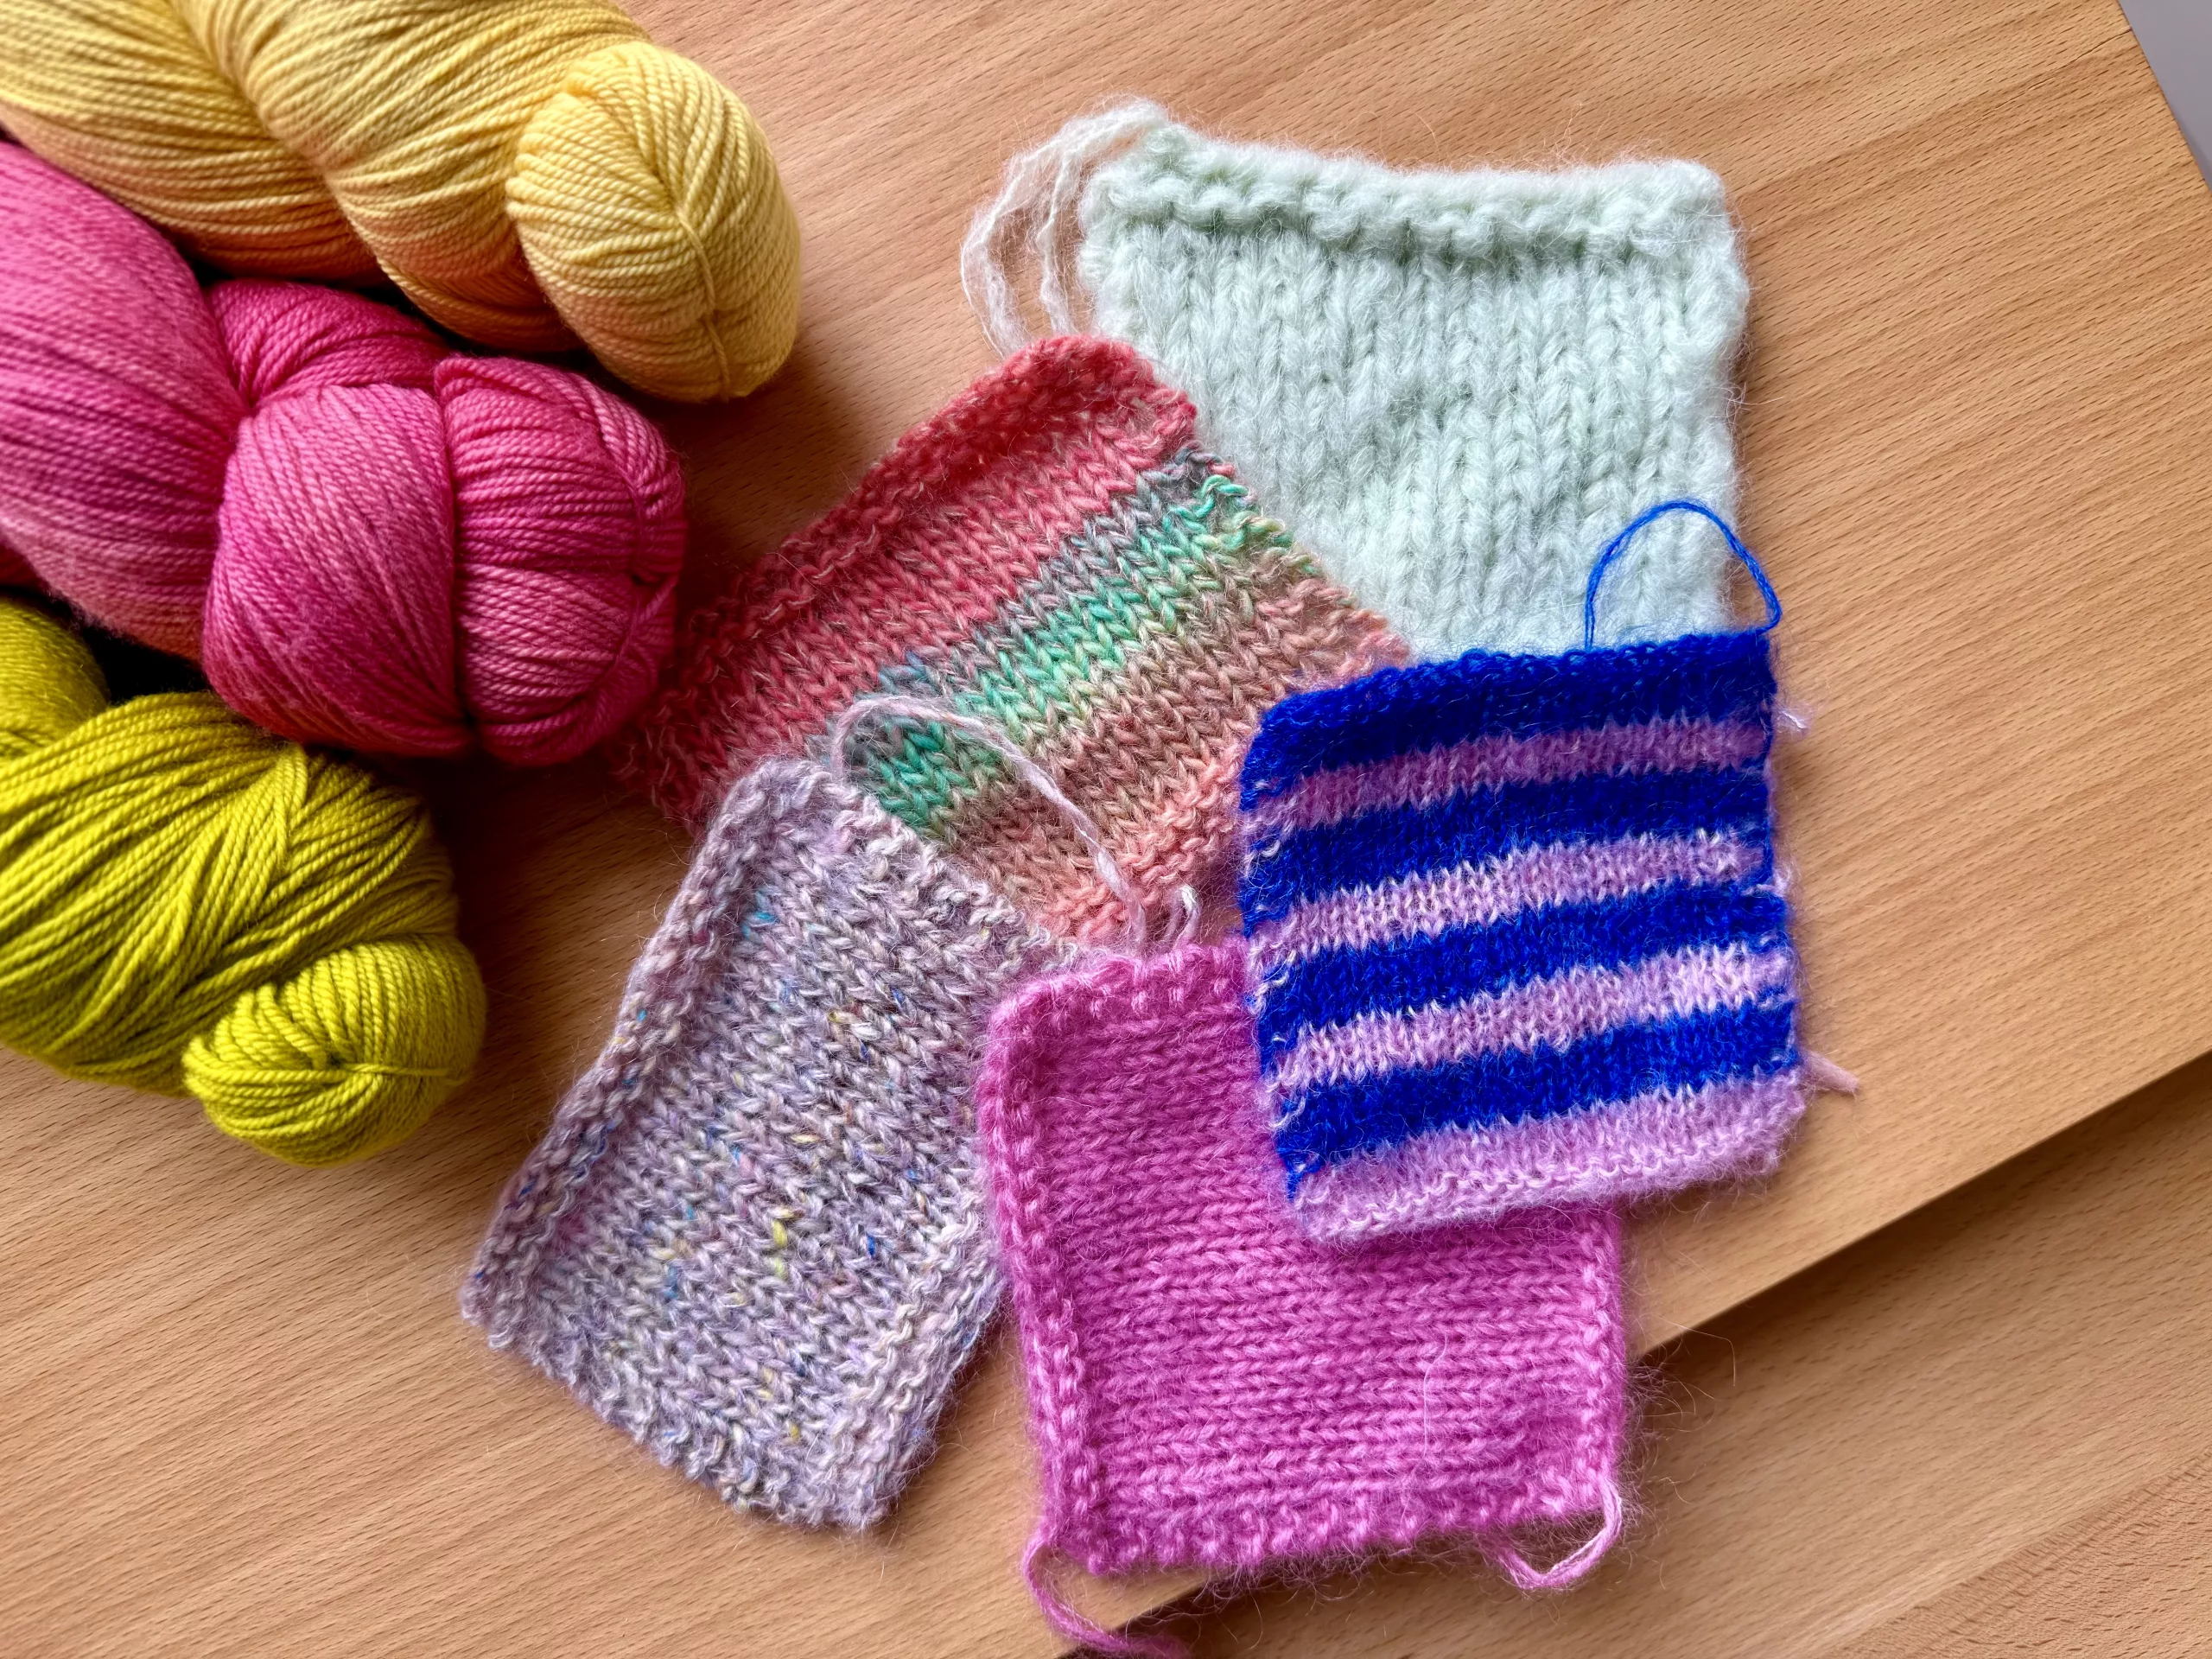
A gauge swatch is a small knitted square – usually about 10 x 10 cm (4 x 4 inches). It shows you how many stitches and rows you knit per 10 cm using your yarn and your needles. This is also called your gauge. It’s slightly different for everyone, because we all knit a bit tighter or looser.
Why is a Gauge Swatch So Important?
The gauge swatch determines whether your finished knitted piece will be the right size. For example, if you’re knitting a sweater and you knit looser than expected, the sweater will turn out too big. If you knit tighter, it will be too small. So the gauge swatch helps you avoid nasty surprises – especially when you’re knitting garments that really need to fit.
How to Make a Gauge Swatch
1. Check Your Pattern
It might say something like:
Gauge: 18 sts x 24 rows = 10 x 10 cm (always in stockinette stitch unless otherwise noted and measured after washing!)
This means you should knit 18 stitches across and 24 rows high so your piece measures 10 x 10 cm – after washing.
2. Cast on more stitches than stated
It’s better to knit a bigger square, e.g. 30 stitches wide and 30 rows high. That way, you can measure in the middle without the edges distorting your result, because at the beginning and end of a row your knitting tension is often different than it is in the middle!
Here you can find a video on how to cast on stitches.
Here you can find a video on how to work knit stitches.
Here you can find a video on how to work purl stitches.
Stockinette stitch means you alternate one row of only knit stitches and then one row of only purl stitches. On right-side rows (that’s when your nice side is facing you) you knit, and on wrong-side rows (when the inside is facing you) you purl.
After knitting all your rows, bind off all your stitches.
Here you can find a video on how to bind off stitches.
3. Block or Wash Your Gauge Swatch
Very important: Many yarns change after washing – they might stretch or shrink. So you should treat your gauge swatch exactly as you’ll treat your finished piece later. If you plan to wash your finished piece by hand, do the same with your gauge swatch.
4. Let It Dry and Then Measure
Measure in the center of the swatch (not at the edges!) using a ruler or tape measure. Count how many stitches there are across 10 cm in width and how many rows there are in 10 cm of height.
Common Mistakes
Not washing the gauge swatch: This often leads to inaccurate results – for example, the sweater might only become too big after the first wash.
Swatch too small: Always measure in the middle to get an accurate result.
Knitting the wrong stitch pattern: If the pattern specifies a certain stitch pattern for the gauge swatch, e.g. garter stitch or textured pattern, make sure to knit your gauge swatch in that same pattern.
What to Do if Your Gauge Swatch Doesn’t Match?
If you have more stitches per 10 cm than stated in the pattern, you’re knitting too tightly. Try using a larger needle size. If you have fewer stitches per 10 cm, you’re knitting too loosely. Switch to a smaller needle size.
Example:
Your gauge swatch measures 20 stitches over 10 cm, but the pattern calls for 18 stitches. So you’re knitting too tightly. → Use the next larger needle size.
Tip: You don’t have to knit the entire gauge swatch again – just knit a small section with the new needle size and measure again.
Conclusion
A gauge swatch isn’t an annoying detour – it’s the most important first step if you want your knitting project to succeed. It helps you get the right fit, the right size, and above all, joy in your finished piece.
Especially in our Foolproof Patterns, which are designed specifically for beginners, we make it very clear: Trust the gauge swatch – that’s how your project will turn out just the way it’s supposed to!
If you’ve never made a gauge swatch before, just give it a try. It’s the perfect mini-start into knitting – and you’ll immediately get a feel for the yarn, needles, and your own knitting rhythm.
Have fun experimenting!