Have you nailed the basics of knitting like casting on, knitting, purling, and binding off and are now ready to tackle your first project using a pattern? At first glance, a knitting pattern may look like a confusing puzzle full of abbreviations and symbols, but it’s not as intimidating as it seems!
Let’s break it down step by step and unlock the mystery of how to read a knitting pattern.
Understanding Sizes in Patterns
For garments and accessories with multiple sizes, patterns list instructions for all sizes together. Typically, the smallest size appears first, followed by the larger sizes in parentheses. For example:
XS (S) M (L) XL (XXL) XXXL
Usually bust circumferences that correspond to these sizes are stated in the pattern. Choose the size that fits your bust circumference. To avoid confusion, highlight or underline the instructions relevant to your size throughout the pattern. If a size-specific instruction doesn’t apply to your project, simply skip that step and move on to the next.
Materials and Gauge
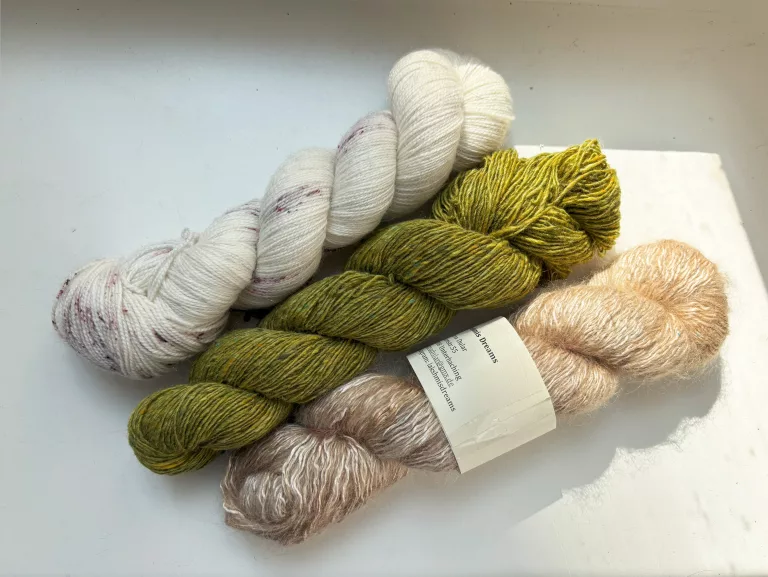
Before diving into your knitting project, ensure you have all the necessary materials. Patterns typically specify the type and amount of yarn required. European patterns often list the yarn quantity by weight in grams. Pay close attention to the size range in the pattern and select the recommendation that corresponds to the size you’ll be making.
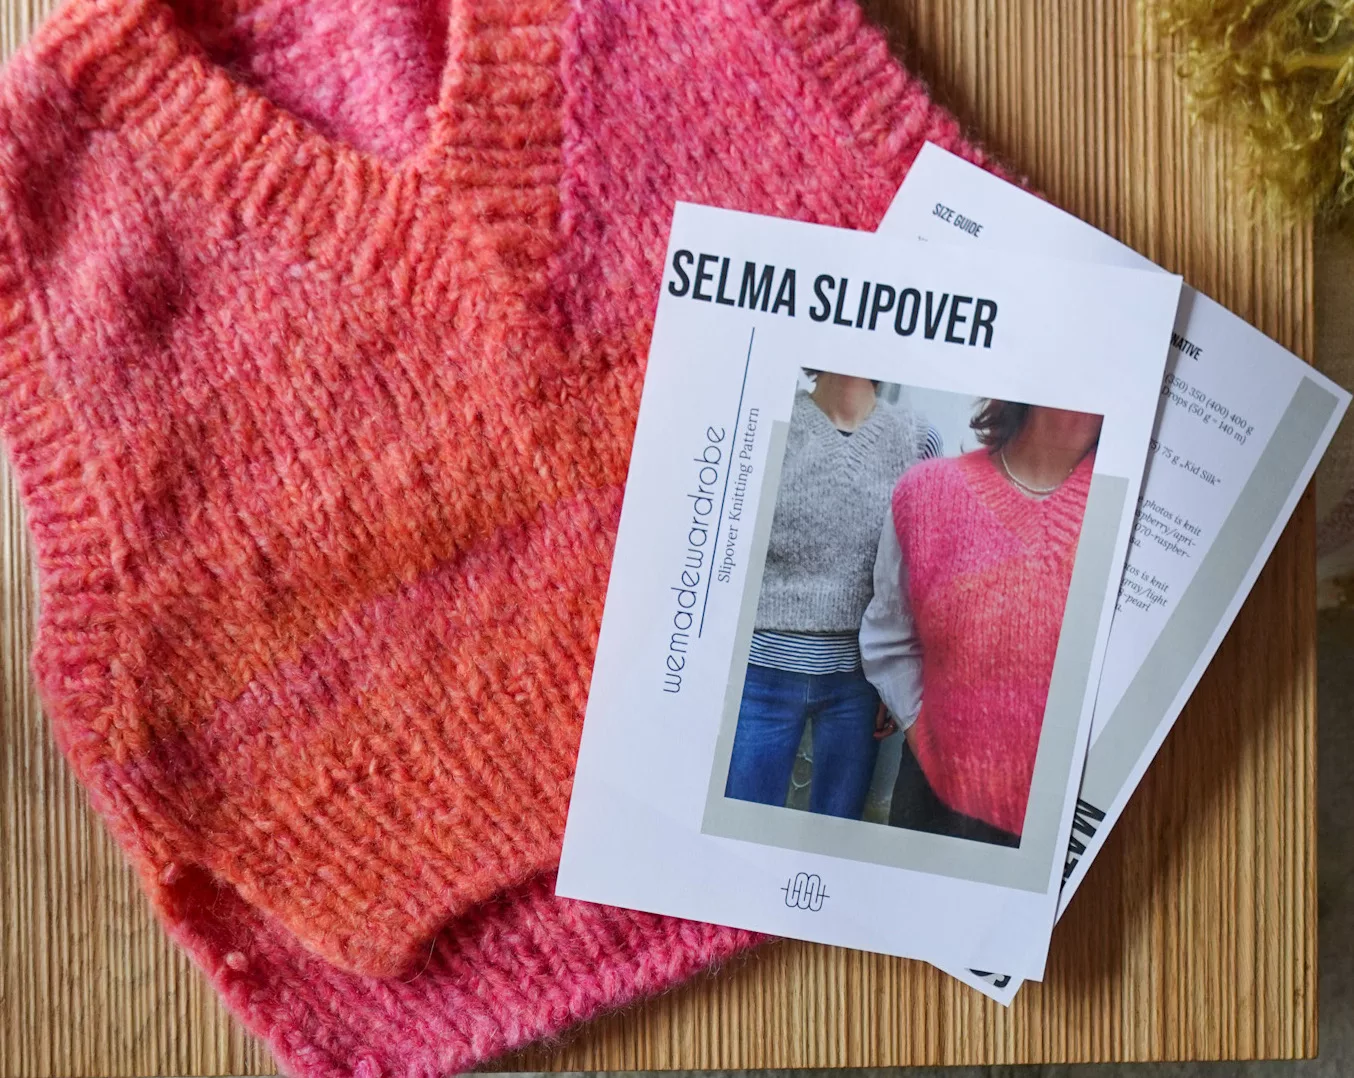
300 (350) 400 (450) 500 (550) 600 g of yarn
This means you’ll need 300 grams for the size XS, 350 grams for size S, and so on.
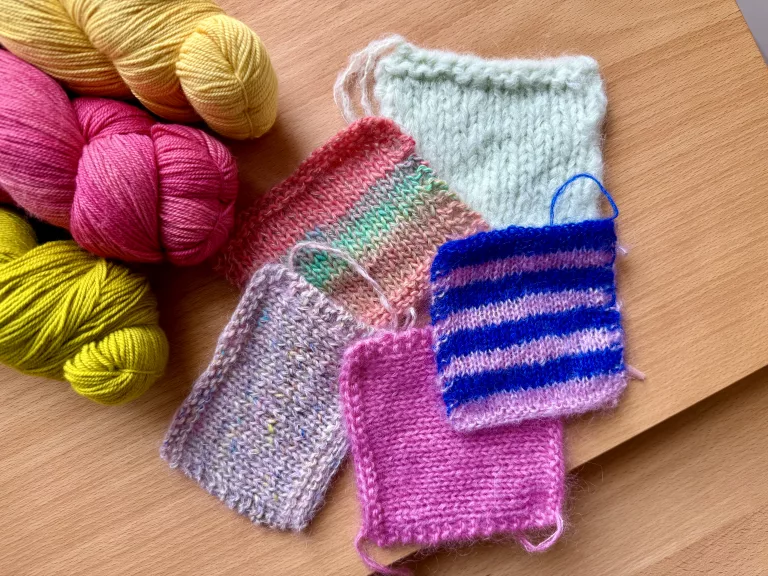
The pattern will also provide a suggested gauge – the number of stitches and rows per 10 cm. Achieving the correct gauge is crucial to ensure your finished piece matches the intended dimensions. Always knit a gauge swatch before starting your project to check if adjustments to needle size or tension are needed.
Decoding Abbreviations and Symbols
Knitting patterns use abbreviations to make instructions more clear. Common ones include:
k: knit.
p: purl.
k2tog: knit two stitches together.
If a pattern uses more or unfamiliar terms or techniques, it often includes a glossary or notes section to explain them. In our patterns these abbreviations can be found before the pattern itself starts. Additionally, many online resources and video tutorials can help clarify complex instructions.
Symbols like asterisks * or brackets () are also used to simplify repetitive instructions. For example, an asterisk * indicates the start of a sequence to be repeated:
Row 1: *k1, p1*, repeat from *-* to end of row.
This means you’ll alternate knitting one stitch and purling one stitch across the entire row.
Extra Tips
Many knitters find it helpful to write out or highlight parts of their pattern, especially when starting out. For example you can highlight the corresponding numbers to your size. With practice, you’ll become familiar with abbreviations and symbols, making patterns much easier to follow. As you gain experience, you’ll appreciate how concise instructions save time and streamline your knitting process. If we motivated you to start knitting, take a look at our knitting patterns – they are all very detailed and fun, we promise 🙂
Happy knitting! <3